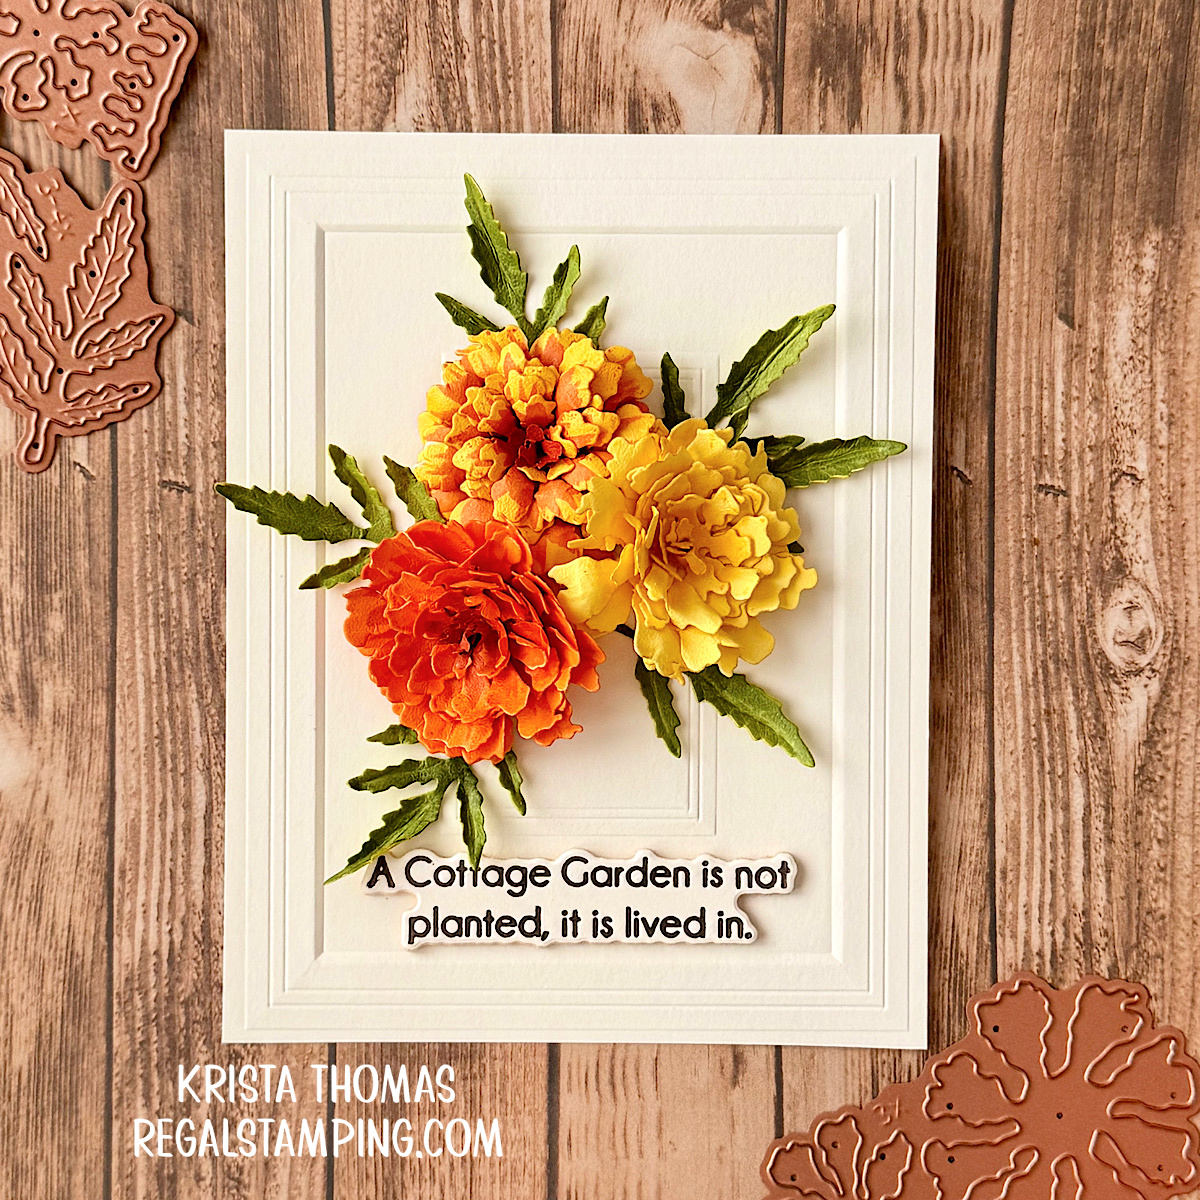
I’ve been wanting to try my hand at Susan Tierney-Cockburn’s 3D flowers for quite some time, and I finally decided to give them a shot! I’ll admit, though, making realistic 3D paper flowers is a little harder than it looks. There are lots of little details involved in shaping and assembling the pieces, and getting everything to look natural definitely takes some practice.
A Learning Process
Thankfully, Susan has YouTube videos showing the process for each of her flower sets, which makes learning the techniques so much easier. I definitely needed to watch the video a few times as I worked my way through my first flowers!
I started with the Marigold dies from her new Cottage Garden Collection and made a trio of marigolds in different colors. I love how changing the colors can give each flower a completely different look.
I’ll be honest—I wasn’t entirely happy with my first results. But that’s okay! We all have to start somewhere, and I’m sure I’ll get better with a little more practice. As the old saying goes, practice makes perfect, right?
Choosing the Right Paper

As I learned by watching her videos, die-cutting from white cardstock is the way to go. I had a package of Susan’s Garden Specialty Paper, so that’s what I used. It’s a nice thickness and has a texture to it.
I like that her dies each have a number etched onto the back, which tells you how many pieces you need for each flower. That’s super handy!
Coloring, Shaping & Assembly
After I had a nice pile of die-cut pieces, I sat down for the next step which was coloring. I used my Ohuhu Alcohol Markers to color both the front and back of each flower and leaf piece. It took some time, but since I enjoy coloring, it was a pleasant task.

Following Susan’s video instructions, I used some shaping tools that I picked up on Amazon to give each piece it’s form. I used a foam piercing mat to work on top of during this step.
Finally, it was time for the easiest step-gluing the pieces together! It was fun seeing how the flowers came to life, even if mine were far from perfect. I’m much better at flat flower-making as you can see in this post: Lush Tropical Blooms! But I won’t give up on the 3D flowers!
Background & Sentiment
For the background, I textured an Alabaster panel with Molded Frame 3D Embossing Folder. After playing with placement, I glued the leaves and flowers into place.
I added a greeting using Cottage Garden Sentiments which are Press & Foil Dies. I used the BetterPress Letterpress System and dark brown ink, cutting it out with the coordinating die. To give it a raised look, I die cut four more with the same die, gluing them together with the sentiment on top.
In Summary
Since a card with 3D flowers is a challenge to mail, I’m thinking I might frame this piece and display it somewhere in my house. It’ll be a reminder of my first attempt at 3D flowers!

I have a feeling this won’t be my last try with the Marigold dies. There’s something really satisfying about taking a handful of little die-cut pieces and turning them into a dimensional flower. I’m looking forward to trying again and seeing if I can improve my technique along the way.
Have you tried making Susan Tierney-Cockburn’s 3D flowers? If so, I’d love to hear any tips you have for a beginner!
Until next time,
~Krista
*This post contains affiliate links. If you click on a link and make a purchase, then I may receive a small commission at no extra cost to you. Thank you so much for shopping with me!
Products Used:
If this area is blank, please read in blog mode at www.regalstamping.com
 The Cottage Garden Die Bundle by Susan Tierney-Cockburn Shop at: SP |
 Marigold Etched Dies by Susan Tierney-Cockburn Shop at: SP |
 The Cottage Garden Sentiments Press + Foil Plate & Die Set by Susan Tierney-Cockburn Shop at: SP |
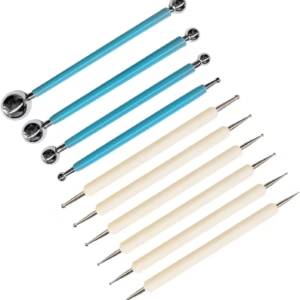 10 Pcs Dotting Tools Shop at: AM |
 Molded Frame 3D Embossing Folder by Yana Smakula Shop at: SP | SC | AM |
 Ohuhu Alcohol Markers Shop at: AM | WFC |
 Platinum 6 Machine Shop at: SP | SC | AM |
 BetterPress System Shop at: SP |
 Alabaster ColorWheel Cardstock Shop at: SP | SC |


Discover more from Regal Stamping
Subscribe to get the latest posts sent to your email.
A raving success!!!!
Thanks, Lori! You’re too kind 🙂
This should be framed and placed in your home, not because it’s a first effort, but because it’s lovely. The coloring, the shading, the shaping, the assembly, the patience, the TIME… Susan’s floral visions and the life breathed into them by artists such as yourself are wondrous. I so enjoy looking at the 3D compositions even as I recognize a skill set that will never be mine. (laughter) As to your flat flower-making such as the Lush Tropical Blooms? Now there’s something I can aspire to! (smile) That card made my heart soar when I saw it in June and I’ve had so much fun since imagining color combinations and floral groupings which are far from my norm. Thank you for sharing your work and of yourself in this blog–it adds to our lives.
Oh, Pam, you made my heart smile with your kind words! We crafters are our own worst critics, aren’t we? Thank you for your vote of confidence!