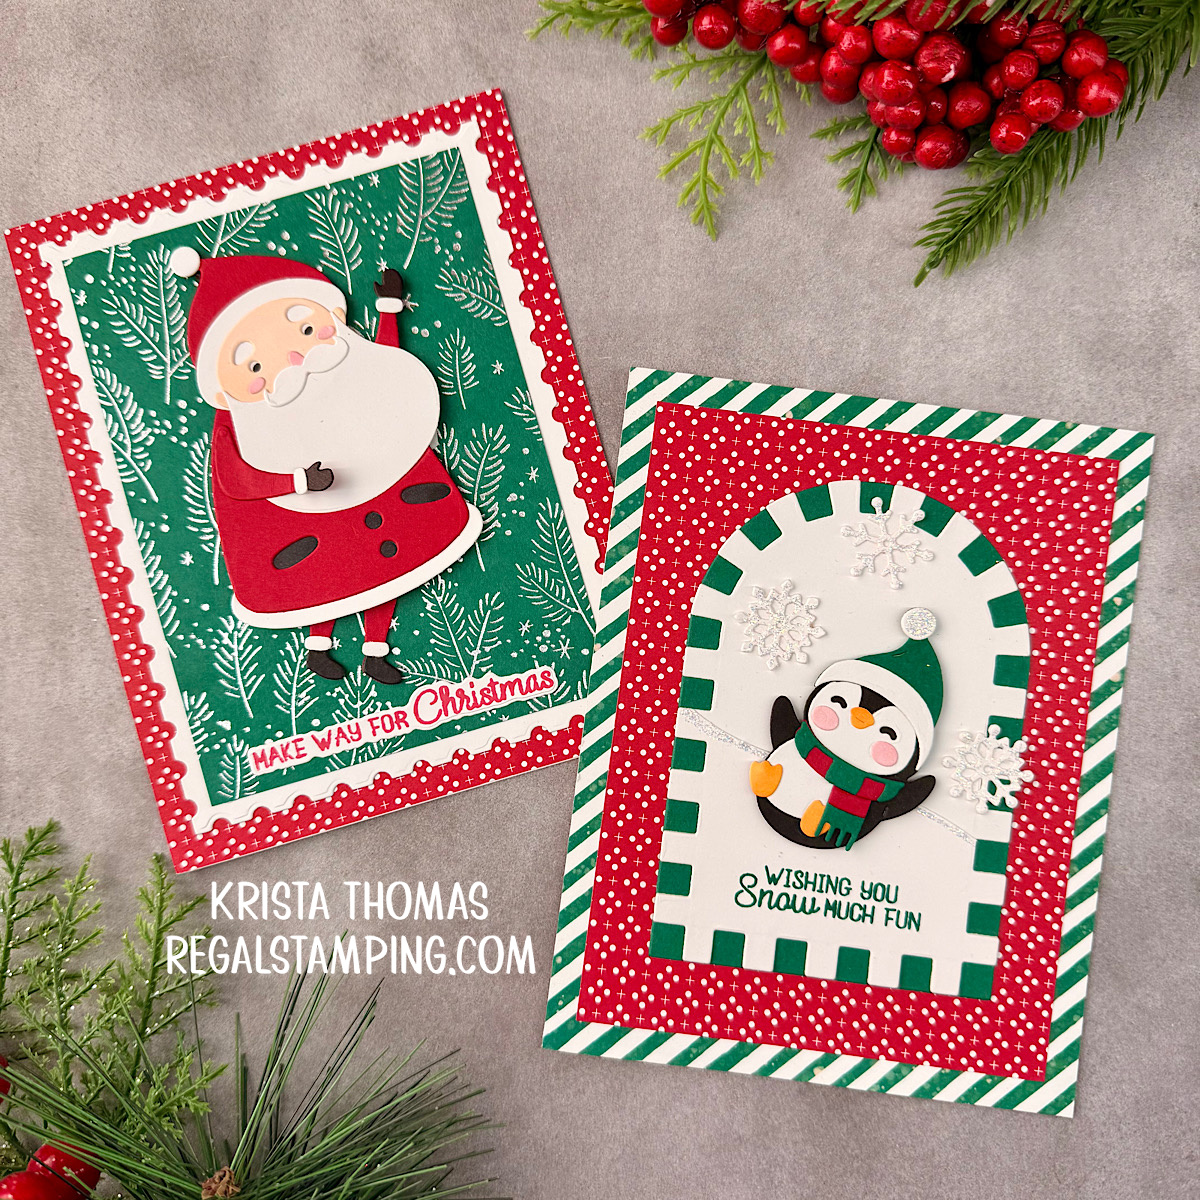
When it comes to making Christmas cards, what color scheme do you prefer? I always love a purple themed card! However, when I made this pair of cards, I went with the traditional colors of red & green and used some designer paper that was in my stash. With dies from Spellbinder’s July Clubs, I pieced together Santa and an adorable penguin.
Both cards are made with the same red designer paper and the same spruce green, making this pair of cards very coordinated.
Card 1: Santa

Working from the base, up, I chose a red patterned paper and cut it to fit on a 5.5″ x 4.25″ card. Then I cut a white postage shaped panel using dies similar to Nested Postage Dies. It measures 5″ x 3.75″ which when glued to the card base, leaves a nice border of the patterned paper.
I cut a green panel measuring 4 5/8″ x 3 3/8″. I then used my Glimmer Machine to hot foil the July Press & Cut Plate, Festive Forest, using Silver Foil. This was adhered to the center of the white postage shape.

Finally, I die cut Santa using Merry Shuffle, the Large Die of the Month. He was cut from Pomegranate, Raven, White & Bellini ColorWheel Cardstock. I used an Ohuhu Alcohol Marker to color his white cheeks and nose. His dancing legs were attached to his backside with a round foam dot, so in real life his legs swing back and forth. I placed Santa front and center on the card front.
The final piece for this card was the sentiment, which was stamped with Cue the Merry, using red ink. I used the coordinating die to cut it out and then attached it to the bottom of the card.
Card 2: Penguin

Working once again from the base up, I started by adhering a green and white diagonally striped paper to a folded white card base. (A2 sized)
For the next step, I cut some more of the red patterned paper as from the previous card. It measures 5″ x 3 3/4″ and was glued to the center of the striped panel. I love the look of using diagonal strips as a mat, don’t you?
Layering the Arches
Next, I cut two arches from white cardstock using the third largest die from Color Block Accent Arches. One piece was left whole, while the second one was die cut with a landscape die from Snow Much Fun, the Small Die of the Month. This created a nice hillside for the penguin to slide down. After gluing the landscape piece to the remaining white piece, I set them aside.
I then cut a green arch from Essential Arches. I used the coordinating size to fit the white arch piece and then glued these two pieces together. The completed arch was glued to the center of the card base.
I wanted a bit of shimmering snow, so before I continued on, I added some Stickles Glitter Glue- Diamond to the edge of the slope. I also diecut three snowflakes from Snow Much Fun and added glitter to them as well.

While the glitter glue was drying, I die cut the penguin from Snow Much Fun using White, Raven, & Pomegranite ColorWheel Cardstock. The green is Stampin’ Up’s Shaded Spruce cardstock. Once again, I used Ohuhu Alcohol Markers to color in his white beak, feet and cheeks. Sometimes it’s easier to cut things from white and then color them later. I love time-savers like this!
Finding the Perfect Sentiment!
I chose a sentiment from Cue the Merry, (Stamp of the Month), and stamped it in green ink at the bottom of the arched shape. It says “Wishing you snow much fun”.
Once the glitter was dry and the penguin assembled, I used foam dots to adhere him to the snowy slope. The snowflakes were placed randomly around him, making this a fun and sparkly scene.
The final touch was to add some glitter to the pom-pom on the penguin’s hat. I just couldn’t resist adding a bit more sparkle! 🙂
A Cute Pair of Cards
There are so many possibilities for adorable cardmaking with the Spellbinder’s Clubs, and I always find myself falling in love with each one. Today’s pair of cards showcase a variety of the clubs because everything works well together!
If you’re on the fence about ordering July’s Club of the Month, here’s some more inspiration to help you decide that you need it! I love the flexibility of ordering only the clubs that I want each month, whether that’s one, two or ALL of them!!
Until next time,
~Krista


Discover more from Regal Stamping
Subscribe to get the latest posts sent to your email.