If you love ghosts, spooky goblins and everything Halloween, then you’re going to love the August Clubs from Spellbinders! Clubs are open TODAY for new subscribers, so don’t miss out on loads of scary goodness.
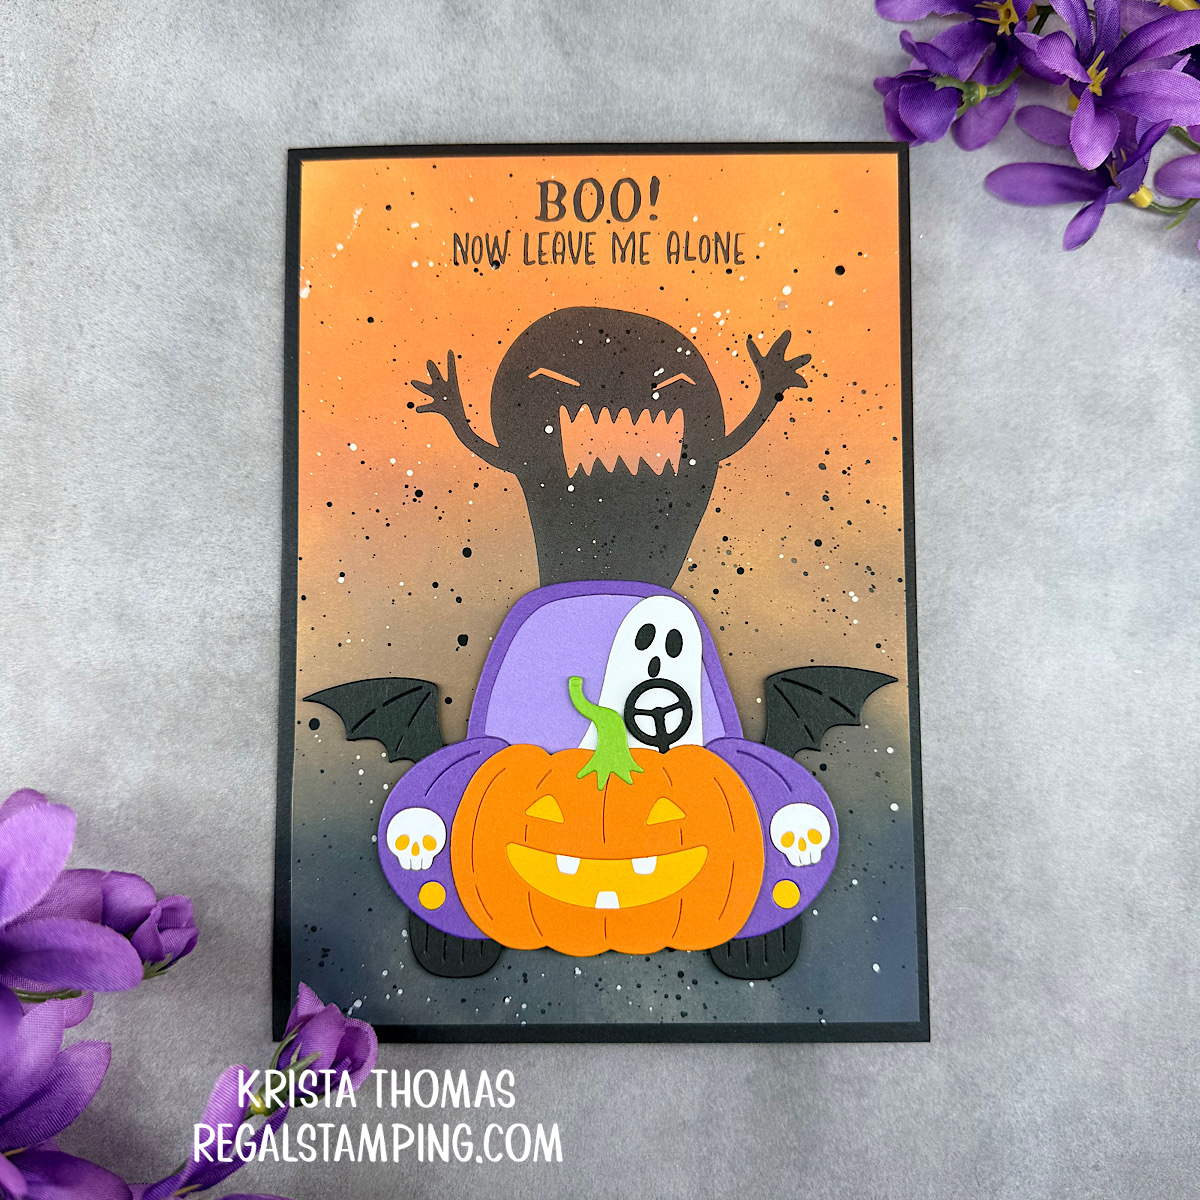
Today’s card features the Press & Foil Club, Boo! Humbug, as well as the Large Die of the Month, Boo Mobile.
Let’s Start with a Spooky Dramatic Background
I began with a white panel measuring 4.75″ x 6.75″ and then ink blended with three Distress Oxide Inks in Black Soot, Gathered Twigs and Rusty Hinge. By using soft blending brushes, I get stunning results every time. Adding a bit more visual interest, I splattered the panel with white and black paint.

Adding a Spooky Ghost
Once the paint was dry, I attached the panel to the BetterPress LetterPress Platen (that’s the clear plate), securing it with a few pieces of Best Ever Craft Tape. I then layed the spooky ghost and sentiment from Boo! Humbug onto the Chase (that’s the magnetic base of the BetterPress LetterPress System).
The August Press & Foil Club includes a BetterPress Black Mini Ink Pad which is what I used to ink up the Boo! Humbug plates. Once inked, I placed the Platen onto the magnetic corners of the Chase, with the ink blended paper facing down. I then ran this through my Platinum 6 Diecut Machine, pressing the images onto the paper.
Making a Boo Mobile
With the Large Die of the Month, Boo Mobile, I set to work die-cutting the pieces from the following ColorWheel Card Stock:
- Carrot
- Saffron
- Rain Forest
- Lilac
- Lavender
- White
- Raven
Once I had all of the pieces, I began assembling the pumpkin mobile, adding bat wings instead of the rear-view mirrors. I placed the ghost behind the steering wheel and in hindsight, I wished I’d added another smaller ghost next to him. But such is life!

After adding foam dots to the back of the assembled pumpkin mobile, I placed it beneath the spooky ghost. The car ghost looks like he’s scared, doesn’t he? I would be, if I was in his place!
Finally, I cut a black piece of card stock measuring 10″ x 7″, scoring on the 10″ side at 5″. Once folded on the score line, this created a 5″ x 7″ card base which I then glued everything onto.
Adding a Spooky Inside
I like adding something to the inside of my cards, but I’ve been getting lazy with the thought that I’ll just do them later. Well…I say ENOUGH procrastination! I’m going to do better from now on, starting today!

So for this card, with it’s black card base, I cut a white 4.75″ x 6.75″ panel. After blending around the edges with Black Soot Distress Oxide Ink, I added a sentiment from Trick or Snark, the Clear Stamp & Die of the Month. It was stamped with black ink onto Carrot card stock and then cut with the coordinating die.
I cut several bats using dies from Boo Crew Lab, Small Die of the Month, placing them randomly onto the inside panel. To finish things up, I glued the panel to the inside of the card base.
A Final Touch
It’s always fun to add a “handmade by” stamp to the back of a card, but today I used a stamp from Riley & Co. which reads “Handmade Cards because…no one displays an email on the mantel.” I stamped it in Picket Fence Distress Ink so that it shows up nicely on the black card stock.

While I’m usually not a “halloween” person, I did have fun making this card and envisioning the smiles it might bring to the recipient. This is truly the first such card I’ve posted on my blog, but for some autumn inspiration, here’s a previous post!
Until next time,
~Krista
This post contains affiliate links. If you click on a link and make a purchase, then I may receive a small commission at not extra cost to you. Thank you in advance for shopping from my links!


Discover more from Regal Stamping
Subscribe to get the latest posts sent to your email.