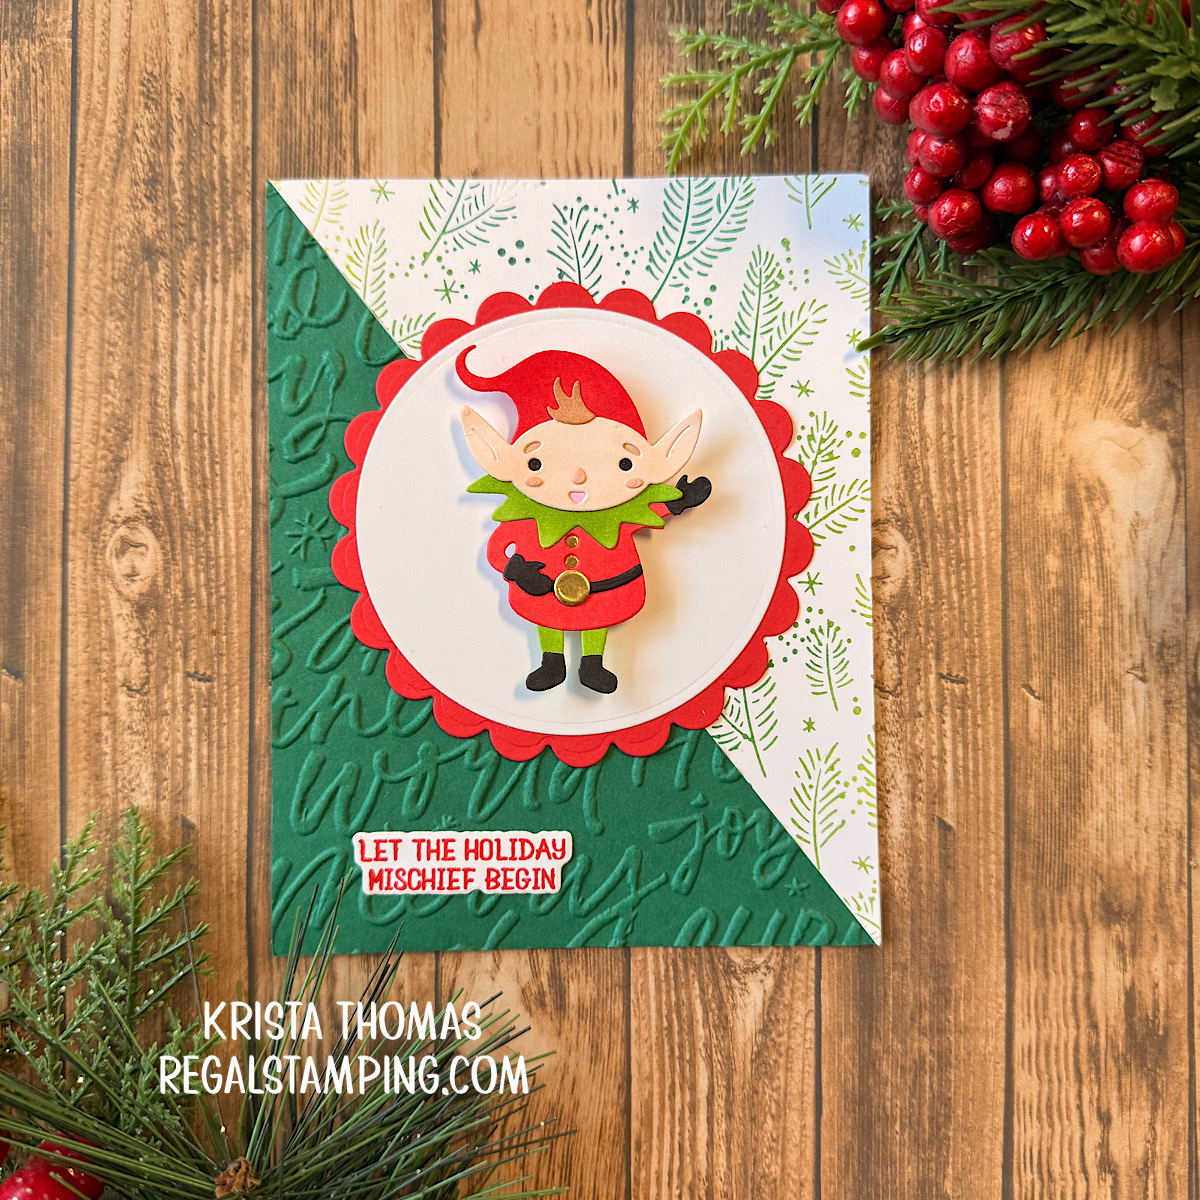
Start your creative engines and let the holiday mischief begin! Christmas card making is in full swing at Spellbinders, and today’s card is all about fun and movement. Using the Large Die of the Month, Merry Shuffle, I created a playful card featuring a spinning elf. He’s sending Christmas smiles one spin at a time!
To make this card interactive, I added a Card Spinner to the back of the elf. These spinners are the new kid on the block when it comes to adding movement. They spin effortlessly and have so many useful possibilities! I will certainly be stocking up on these little gadgets, and you can too! I love that they come in two sizes, large and small, with an option to purchase as an assortment.
A Card with a Diagonal Spin
I kept the rest of the design simple so the spinning elf could take center stage. To create the background, I used the 3D Embossing Folder of the Month, Festive Greetings, on a piece of dark green cardstock. I then cut this A2 sized panel in half diagonally from the top left corner to the bottom right. I set aside the bottom left side for the card.

Next, I used the Press & Foil Plate of the Month, Festive Forest, and inked it up with varying shades of green ink. Placing the plate on my BetterPress LetterPress System, I transferred the design to a white A2 sized panel. This panel was then cut diagonally, same as the dark green panel from above. I set aside the top right side for the card.
Continuing on, I then glued the two saved triangles to a white card base. I added a red scalloped circle topped with a white circle that would become the backdrop for my spinning elf.

Coloring the Elf with Markers
Creating the elf, I used the Merry Shuffle dies, cutting everything from white cardstock. I then colored the white pieces with my Ohuhu Alcohol Markers. The only exception was the gold buttons and belt buckle which were cut from gold foil paper. Once the elf was assembled, I glued a large spinner to his backside, right in the middle. This was my first time using a spinner and I wasn’t sure which adhesive would work best. I ended up using my Art Glitter Glue and it worked and dried perfectly.
This card was simple to make with this cute little elf creating holiday magic at every turn! For more interactive inspiration, see my previous post, All Things Rainbow…
Until next time,
~Krista


Discover more from Regal Stamping
Subscribe to get the latest posts sent to your email.