With springtime just around the corner, I find myself happily daydreaming about planting my garden—imagining rows of fresh veggies and beds of blooming flowers. The Spellbinders February Club Crate captures that fresh Spring/Easter feeling perfectly, and today I’m delighted to share one of its standouts: the beautiful Spring Stitched Tree Dies.
What’s Included in the Spring Stitched Tree Die Set?
This die set is super versatile and includes a tree trunk with branches, leaves and flowers that can be stitched or cut without the stitching holes. I love having that option! Additionally, there’s a die that creates a patch of ground to anchor the tree, as well as two sentiment banners.
Let’s Put it Together!
For today’s card, I started with a panel cut from Lawn Fawn’s Gleeful Gradients, which has a beautiful ombre’ effect. Its measurements are a standard A2 size, 4.25″ x 5.5″. After texturing it with Shady Leaves 3D Embossing Folder, I adhered the panel to a folded white card base. This embossing folder is part of February’s Club of the Month at Spellbinders.
Choosing a Color Palette for the Spring Stitched
Tree
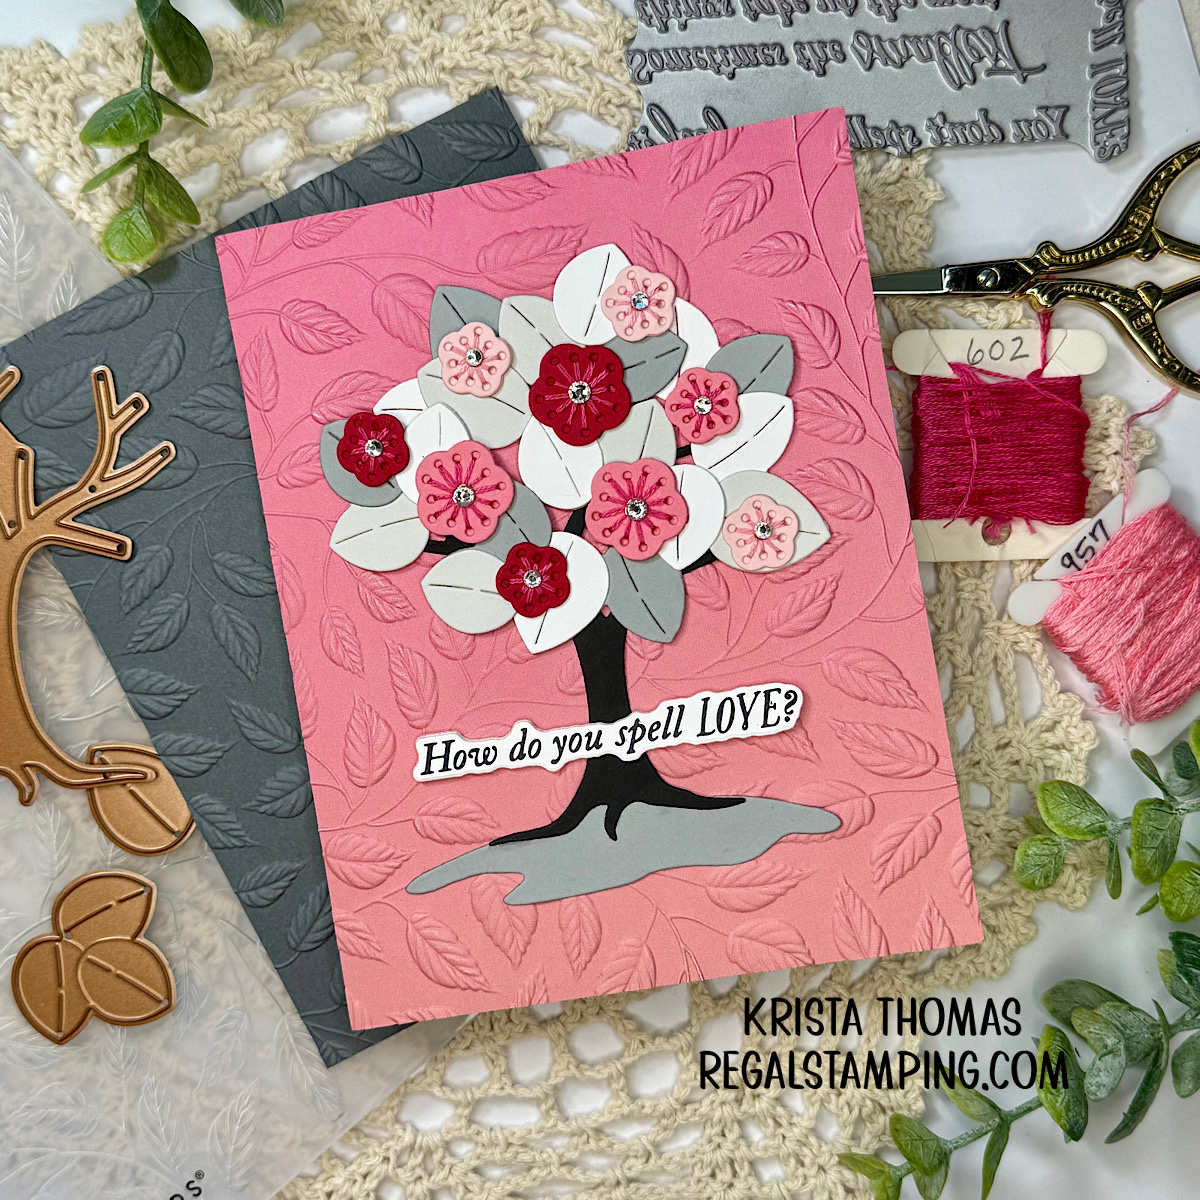
I wanted the tree to be in neutral tones of black, grey & white. With that in mind, I cut the trunk from Raven cardstock. Next, I cut a pile of leaves from Fog, Anchor & White ColorWheel Cardstocks. The patch of ground was cut from Anchor.

Next came the fun part! I wanted the flowers to mimic the background colors, so I cut a bunch from Blush, Tutu and Wild Berry. I included the stitching holes in my die-cutting process and then sat down for a quick session with a needle and some DMC floss. Once finished, I added a rhinestone to each flower center and then placed them onto the tree.

How Do You Spell Love?
Because my color theme was well suited for a Valentine card, I used sentiments from Sweet Sentiments Press & Foil Plate. The card front says, “How do you spell LOVE?”, while the inside says, “You don’t spell it, you feel it”.

I love adding decorative elements to the inside of my cards. In this case, I placed a 1.5″ vertical strip of the Gleeful Gradients paper down the left side and then added a few stitched flowers-minus the rhinestones-and finished with the sentiment.
In summary, I believe this Spring Stitched Tree is going to useful year-round, for every season! I can’t wait to add some cute Easter eggs in place of the flowers! Wouldn’t that be cute? And if you love designing with trees, here’s another die set that I shared it in this previous post: Fall in Love…
Until next time,
~Krista
Please note: This post uses affiliate links at no additional cost to you! By clicking the links in this post, I will earn a small commission should you make a purchase. Thank you in advance!

Discover more from Regal Stamping
Subscribe to get the latest posts sent to your email.