Today is all about making nautical cards for the ladies! In my previous post, I shared masculine cards made with the Spellbinder June Club Kits. Today I wanted to share cards that use the same kits but are totally feminine!
It’s the final day to subscribe for June clubs, so if you’ve been on the fence, it’s now or never! Personally, I think Spellbinders hit it out of the park this month!
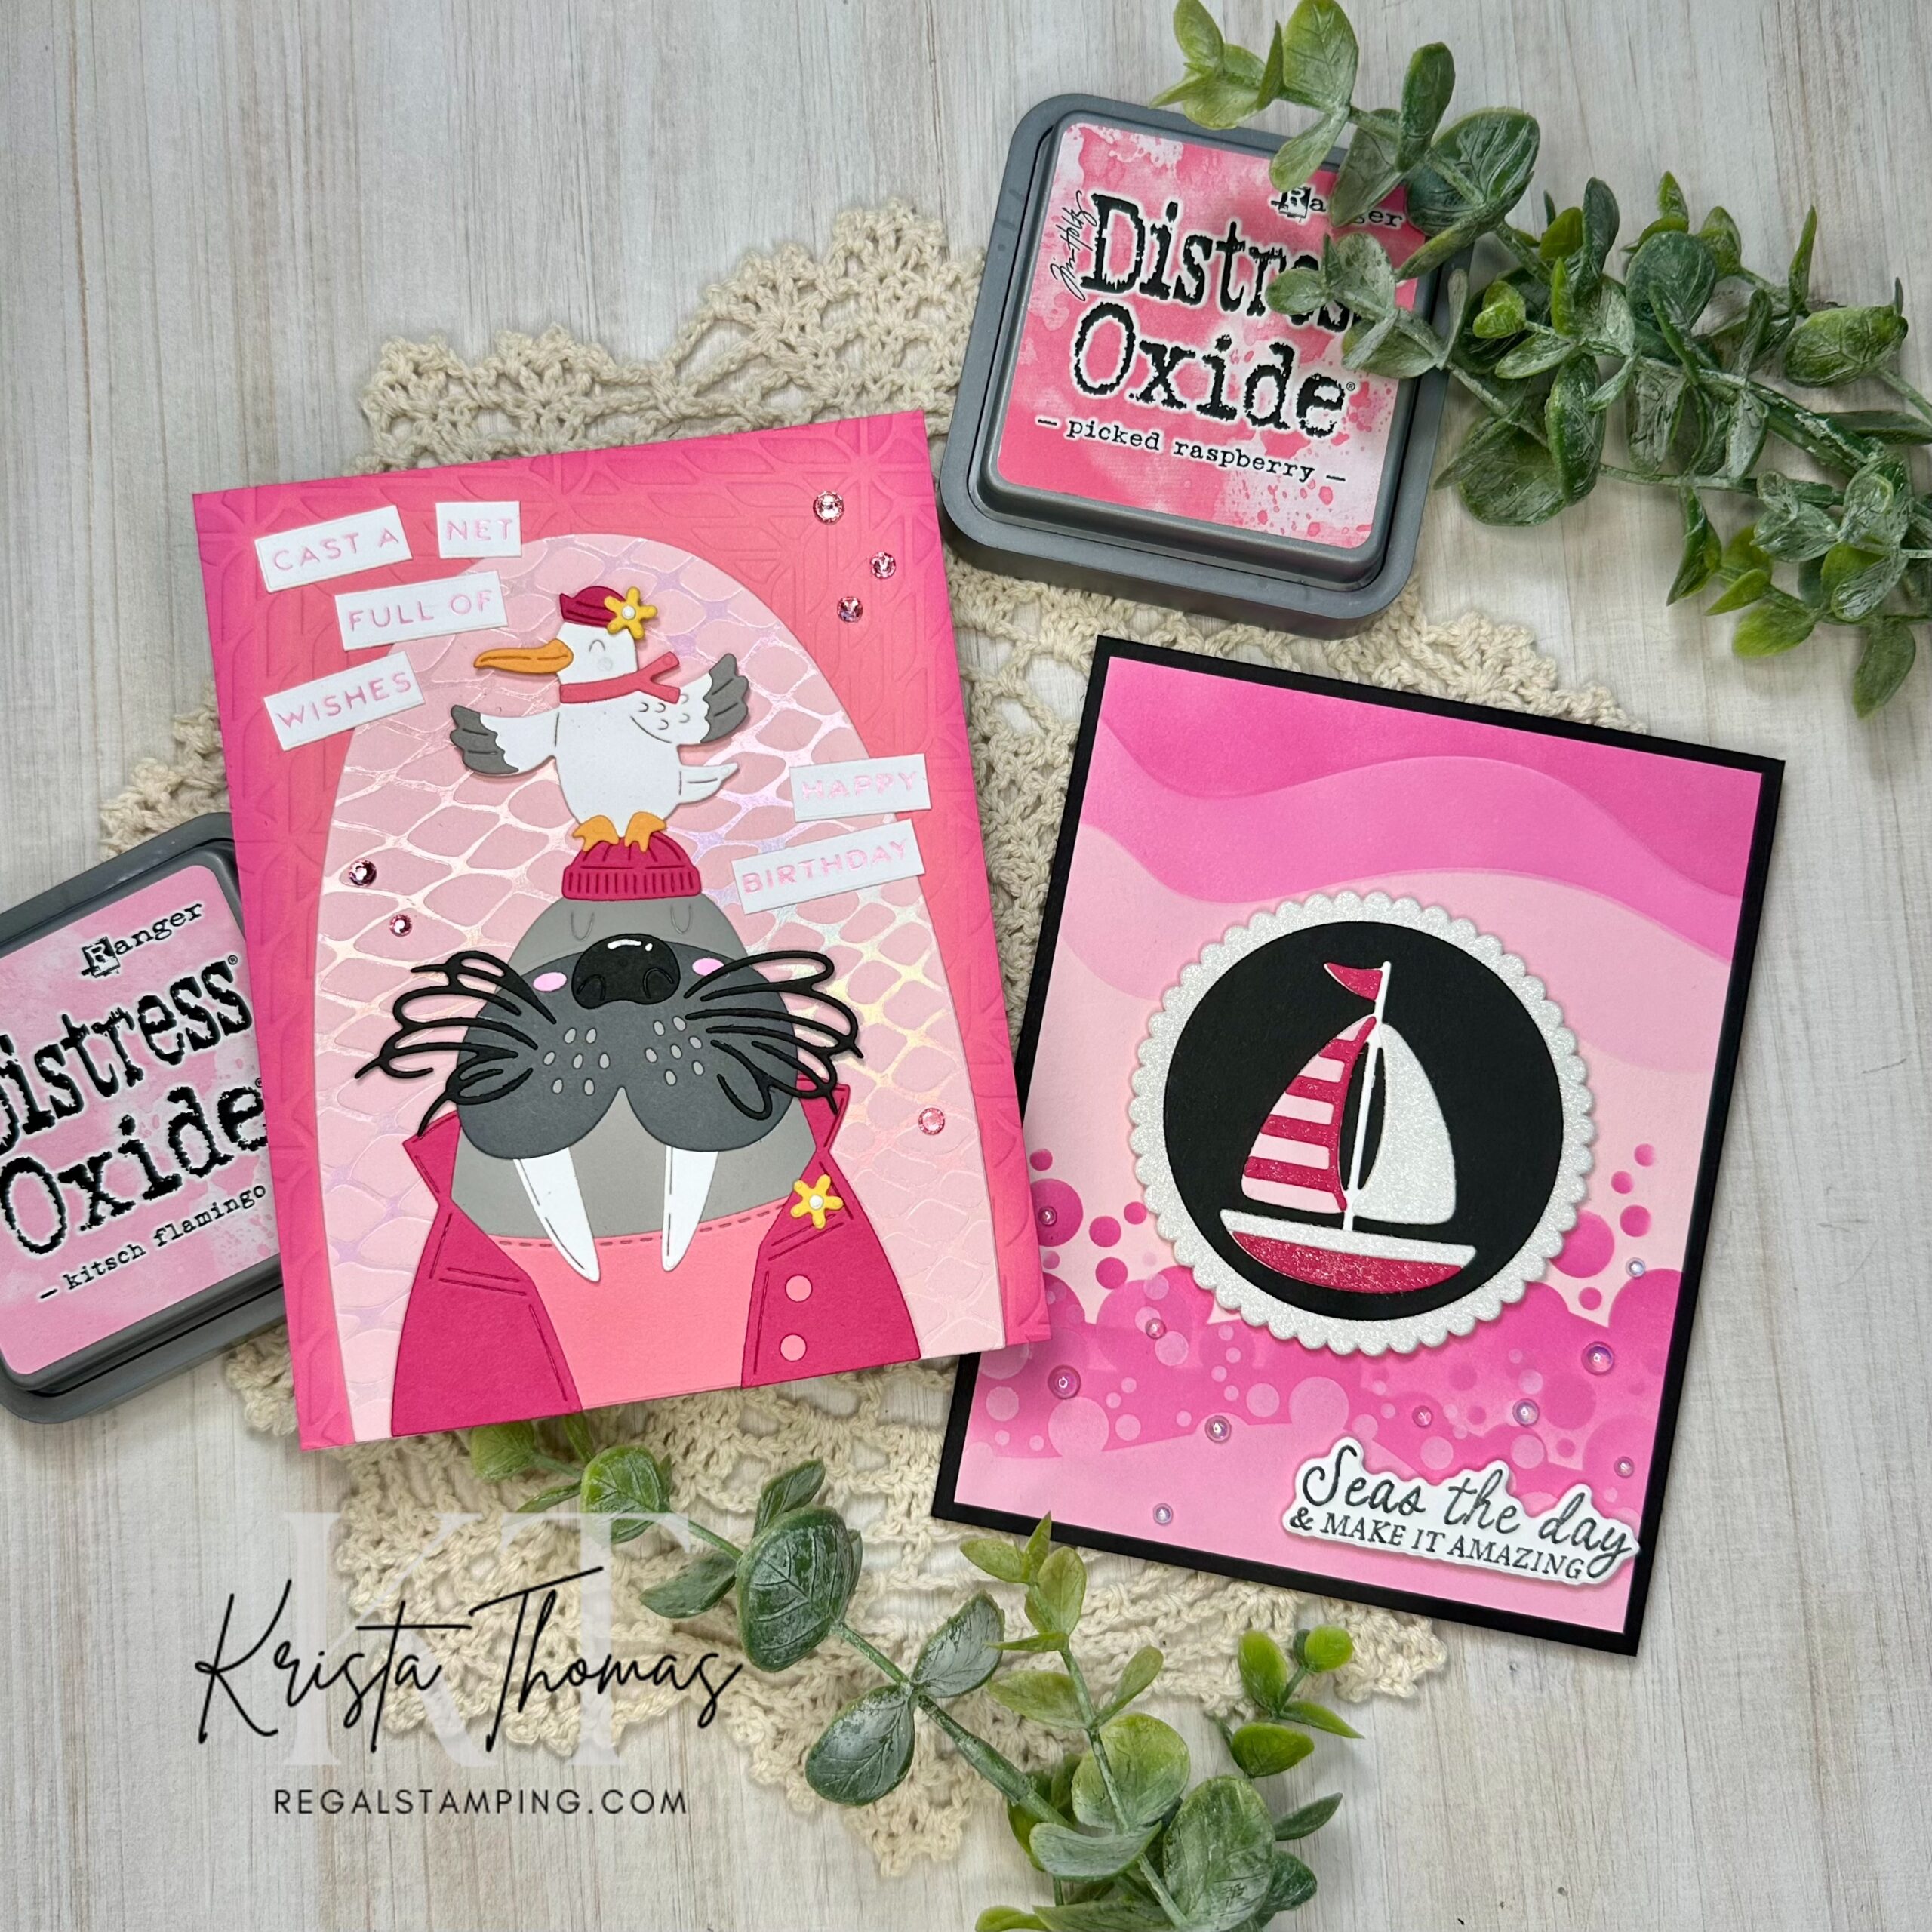
At first glance, the June clubs have a masculine feel to them. With a few tweaks and color changes, they’re also great for the women in your life!
Card #1: Cute Walrus
Before I began making this card, I had to do an internet search on whether female walrus’s have tusks. I discovered that they do indeed, but they’re shorter than the males tusks! With scissors in hand, I trimmed them shorter!
By adding a pink background, pink clothing and a couple yellow flowers, the look is totally feminine. Soft, sweet and oh-so-girly!!

Creating the card base and main background
- Begin by cutting a Tutu Colorwheel Cardstock panel measuring 5.5″ x 4.25″.
- Emboss the panel with Mariner’s Weave Embossing Folder.
- Ink blend the edges of the embossed panel with Picked Raspberry Distress Oxide ink.
- Adhere panel to a Classic White card base, measuring 4.25″ x 11″, scored and folded at 5.5″. Set aside.
Creating the secondary background
- Cut a Blush Colorwheel Cardstock panel measuring 5.5″ x 4.25″.
- Hot foil the panel with Cast Away glimmer plate and Opal foil. (Requires the Spellbinders Glimmer Machine)
- Cut arch shape from the panel using Arch Labels and Tag dies, (3rd from largest).
- Adhere arch panel to the card base with the bottom edges aligned.
- While glimmer machine is still hot, use Pastel Pink foil on white cardstock and sentiments from Cast Away.
Creating the focal point
- Die cut the female walrus and seagull using Ship Mates dies (Die of Month). My colors are Tutu, Blush, Anchor, light gray, Raven, Classic White & peach.
- Cut 2 tiny flowers from Bees Wax and Classic White cardstocks, using Backyard Haven View dies.
- Trim the walrus tusks shorter because it’s female.
- Glue the pieces together, creating the walrus and seagull separately.
- Adhere the walrus at the bottom of the arched background, centering as preferred from left to right.
- Attach the seagull using foam dots and placing it with it’s feet on the walrus’ hat.
Adding the finishing touches
- Using the sentiment die that’s included with Cast Away, die cut the sentiments and then cut between the words as shown on my sample.
- Adhere sentiments where desired.
- Embellish the card with pink rhinestones if desired.
Card #2: Sailboat
This sailboat is the bonus die that comes with the purchase of the Club Caboodle and makes for a very quick and easy card!

Stenciling the background…
- Create a card base from Raven cardstock measuring 8.5” x 5.5”, scored and folded at 4.25”. Set aside.
- Cut a piece of Blush cardstock measuring 5.25″ x 4″.
- Place panel on a sticky mat to secure for the stenciling process.
- Use stencil #1 from Rolling Tide (stencil of the month), centering it on top of the panel
- Use a blender brush and Picked Raspberry Distress Oxide ink to blend through the stencil openings. Remove stencil from panel.
- Repeat process with stencil #2 and ink blend with Kitsch Flamingo Distress Oxide ink. Remove stencil.
- Repeat process with stencil #3 and ink blend with Spun Sugar Distress Oxide ink. Remove stencil.
- Glue stenciled panel to card base, centering it.
Creating the focal point…
- Use a 2 3/8” circle die and cut one from Raven cardstock.
- Use a slightly larger scallop circle die and cut one from white glimmer paper.
- Glue the black circle to the scallop circle. Set aside.
- Use the dies from Set Sail, which is a bonus item that comes when you order the entire June 2025 club, called the “Caboodle”. It is cut from Classic White cardstock, Blush, Wild Berry and white glimmer paper.
- Glue the sailboat pieces together. Use a glitter pen to add sparkle to the Wild Berry pieces.
- Glue assembled sailboat to the Raven circle, centering.
Final touches…
- Use dimensional foam dots to adhere the circle to the center of card front.
- Stamp a sentiment from Anchors Away using black ink. Cut with coordinating die.
- Attach sentiment to bottom right corner using dimensional foam dots.
- Finally, add some iridescent bubbles to the bottom third of the card, or where desired!
In conclusion…
As we’ve seen today, June’s nautical themed club kits are great for the guys and gals in your life!
If you’re ready to subscribe, head over to Spellbinders today! Remember that the club sales window will close tonight.
Until next time,
~Krista

Discover more from Regal Stamping
Subscribe to get the latest posts sent to your email.