Hello crafty friends! Do you love cards that shimmer, sparkle and shine as much as I do? If so, then I think you’ll love how I used the Windmills and Tulips Press & Foil plate! When I first shared this plate, I used the BetterPress System and ink. Today I’ll be sharing a card that uses the Glimmer Hot Foil System, along with some gorgeous Lavender Petal Foil.
I first chose a color scheme of purple, yellow/orange and green. According to my color wheel, these colors complement each other well. With that task accomplished, I was ready to begin my card.
Let’s Foil Something!
The first step in foiling is to plug in the Glimmer Hot Foil machine and turn it on. It takes about 15 minutes to heat up, so this gives you time to gather your supplies. Here are the steps I took:
- Cut two 5.5″ x 4.25″ panels, one from Classic White ColorWheel Cardstock and the other from Lavender
- Cut two pieces of the Lavender Petal foil, each big enough to cover the entire panel
- When the “platform ready” light comes on, place the Windmills and Tulips Press & Foil Plate onto the magnetic platform of the glimmer machine with the image side facing up
- Lay one piece of the cut foil over the plate, pretty side down
- Carefully lay one of the cardstock panels on top of the foil, lining up the edges with the plate
- Lay both heat-resistant acrylic shims on top of everything (these come with the machine)
- Press the “timer” button on the glimmer machine and wait for the light to stop blinking-takes about a minute
- Slide the platform out of the machine base, and run it slowly through a die-cutting machine
It’s Time for the BIG reveal!
- Remove platform from the die-cutting machine, remove the heat-resistant acrylic shims
- Lift the cardstock (with foil now attached) from the platform and carefully peel the foil off for a gorgeous reveal
- Repeat steps with the second cardstock panel
Once I had both panels foiled, I used a die set similar to this one & strategically cut out portions of the image. To further make these look like postage stamps, they needed some postmarks. I pulled out my Postage Collage stamp set from Waffle Flower and quickly stamped the images.
Next, I cut the coordinating postage stamp shapes from Lilac ColorWheel Cardstock. After gently inking the edges of the foiled pieces, I adhered them to the postage stamps.
Choosing a background
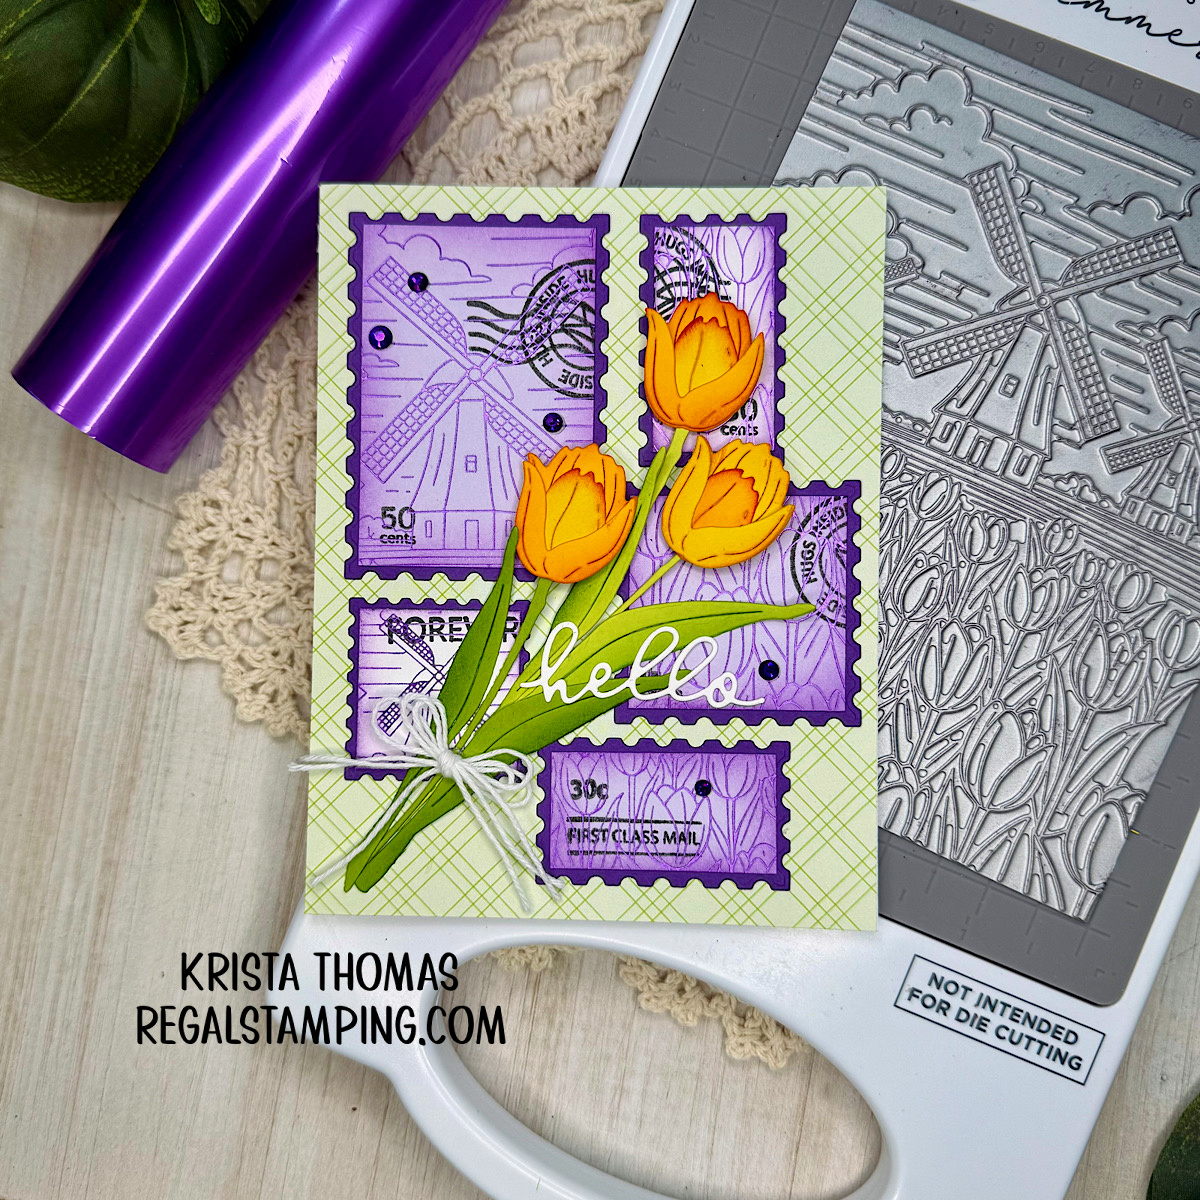
For my background, I chose a green piece from Lawn Fawn’s Bitsy Blooms 6×6 paper. It measures 5.5″ x 4.25″ and was adhered to a folded white cardstock base. This subtle pattern works well with the postage stamps which I arranged and glued into place.

Adding More Tulips
Now it was time for the pièce de résistance! And yes, I had to ask for help spelling that French wording! 🙂
I pulled out some tulip dies from one of the first Spellbinder clubs I ever bought, Rainboot Bouquet. This was to be my focal point for today’s card. I proceeded to cut tulips from Bees Wax and Saffron ColorWheel Cardstock and then inked the edges with some coordinating inks. The stems were cut from Peridot and Rainforest ColorWheel Cardstock and also inked.
After gluing the flowers together, I adhered them across the card front in a diagonal fashion. The lay on top of the hot foiled postage stamps like a bouquet. I tied some thin white twine into a bow and glued it to the stems.

Finally, it was time for a sentiment, and I wanted it to be simple. I pulled out another past club from Spellbinders, Soaring Dragonfly, and die cut the word “hello” from white cardstock. This was added across the tulip stems and onto one of the postage stamps. I love the scripty font of this die and think it was the perfect touch!
After sprinkling a few purple jewels here and there and gluing them into place, this card had all the sparkle and shine it could handle! I wish it showed up better in the pictures, but you’ll just have to trust me! Ha!
While this card did require quite a few products, I think the end result was good, and I hope I’ve inspired you in some way, shape or form. If you want to see my very first tulip card, made with the same dies, here’s a former post: Pulling My Hair Out…
Thanks so much for visiting today!
~Krista

Discover more from Regal Stamping
Subscribe to get the latest posts sent to your email.