I cannot contain my excitement over the August clubs from Spellbinders, which are available to new subscribers TODAY! With an ocean theme, cute scuba divers, and more, I am thoroughly in LOVE and looking forward to sharing them with you! As always, The Deluxe Caboodle is the best deal (a 58% savings) and includes all ten clubs and a bonus item. Today I’ll be sharing cards made with the August Stitching Die of the Month called “Hand-Folded Stitch”. What could be cuter than a folded paper sailboat?
To stitch or not to stitch a paper sailboat..
To stitch or not to stitch…that is the question! The answer is easy-it’s entirely up to you! This paper sailboat has an origami feel to it, and looks fabulous with or without stitching. Die-cutting the stitching holes is optional, and I appreciate having that choice.
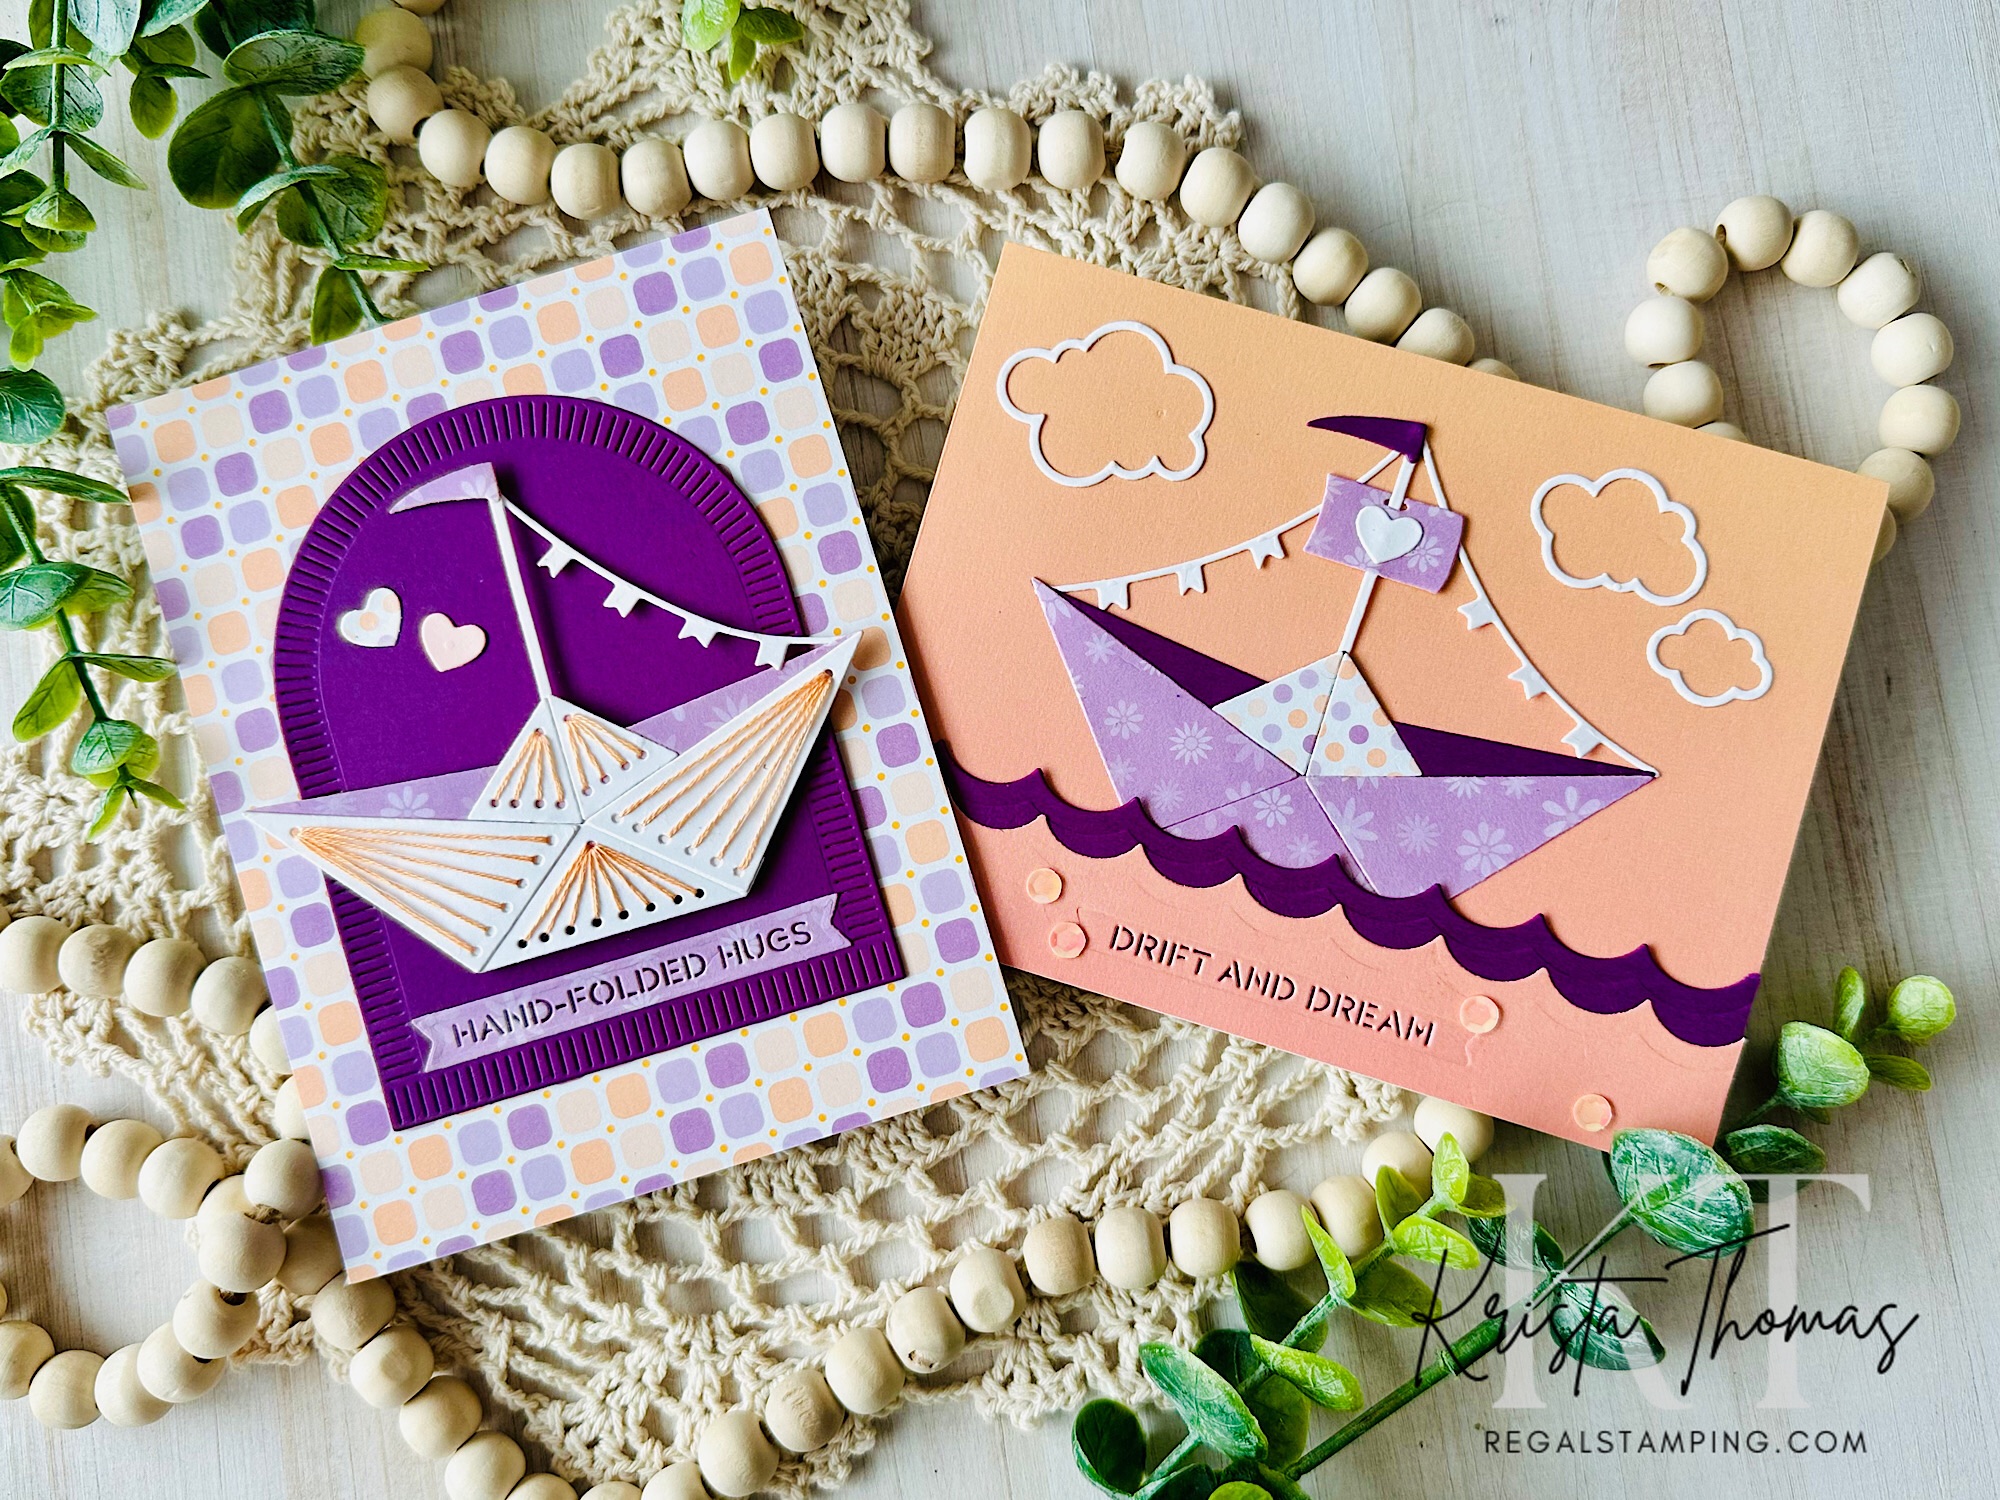
I created two color-coordinated cards—one featuring a stitched paper sailboat and the other left clean and simple. Honestly, I love how both turned out, but I’d love to know which one you prefer! Drop a comment at the bottom of this post and let me know your favorite.
Making the unstitched paper sailboat…
I began with a 4.25” x 5.5” panel of Lawn Fawn’s Gleeful Gradients patterned paper as my background which was introduced in this previous post. Using the wavy scallop die from the Hand-Folded Stitch set, I cut two waves—one from Violet cardstock and another from the Gleeful Gradients piece. For the front wave, I added a whimsical touch by die-cutting the included “drift and dream” sentiment directly into it.

After selecting a mix of coordinating patterned papers, I die-cut the sailboat pieces, alternating light and dark shades to create depth and visual interest. By omitting the insertable stitching portion of the dies, the sailboat was ready to glue together!
With a few more of the sailboat dies, I cut out the flag, its pole, and some banners. I just adore how all of these little details complete the design!
The cloud outlines were cut using dies from Lawn Fawn’s Ta-Da Diorama set.
Finally, I added some coral colored sequins around the sentiment, giving my card a little shimmer and shine.
Making the stitched paper sailboat…
For my second card which features the stitched sailboat, I chose a patterned background, cutting it to 5.5” x 4.25” and adhering it to a folded white card base.
Using Spellbinder’s Make a Wish Arched Labels dies, I cut an arched panel from Violet cardstock. After securing it to the center of the card front, I was ready to work on the sailboat.

Using the same lavender patterned paper as the first card, I cut the base of the sailboat. This is what all of the other pieces get glued to and although you only see a little slice of it, it creates some contrast. The sentiment banner was also cut from the lavender paper.
The remaining boat pieces were cut from white cardstock, and this time, I used the insertable stitching dies.

After quickly stitching each of the five pieces with peach colored DMC floss, I glued them all to the boat base.
Once again, I added the flag and its pole, along with a banner. Finally, with a couple of die-cut hearts on the background, this card was finished!
Which is your favorite?
I’d love to hear from you! Do you like the stitched sailboat card or the unstitched?
Thank you for sharing part of your day with me!
Until next time,
~Krista

Discover more from Regal Stamping
Subscribe to get the latest posts sent to your email.